- Drawings by Brooks Kim
- Posts
- Drawing Note : How I Approach Curly Hair
Drawing Note : How I Approach Curly Hair
Seeing Structure Inside the Chaos
brooks kim
September 10, 2025
Curly hair is one of the subjects I get asked about most often.
People often assume that drawing braids or curls requires some secret technique—but in reality, it’s just like drawing a cat’s paw or a complex engine:
once you understand it, you can draw it.
The key is to stop thinking of curls as lines, and instead see them as volumes with structure.
When you focus on the silhouette, light direction, and the general mass, the form begins to make sense—even if it looks chaotic at first.
In this newsletter, I’ll share the way I usually approach curly hair, along with visual examples and three key observation points that help me simplify the complexity.
At the very end of this newsletter,
there’s a small bonus link hidden in plain sight.
If you’ve read carefully, you may have already found it. :
🎯 Three Things I Always Notice When Drawing Curls
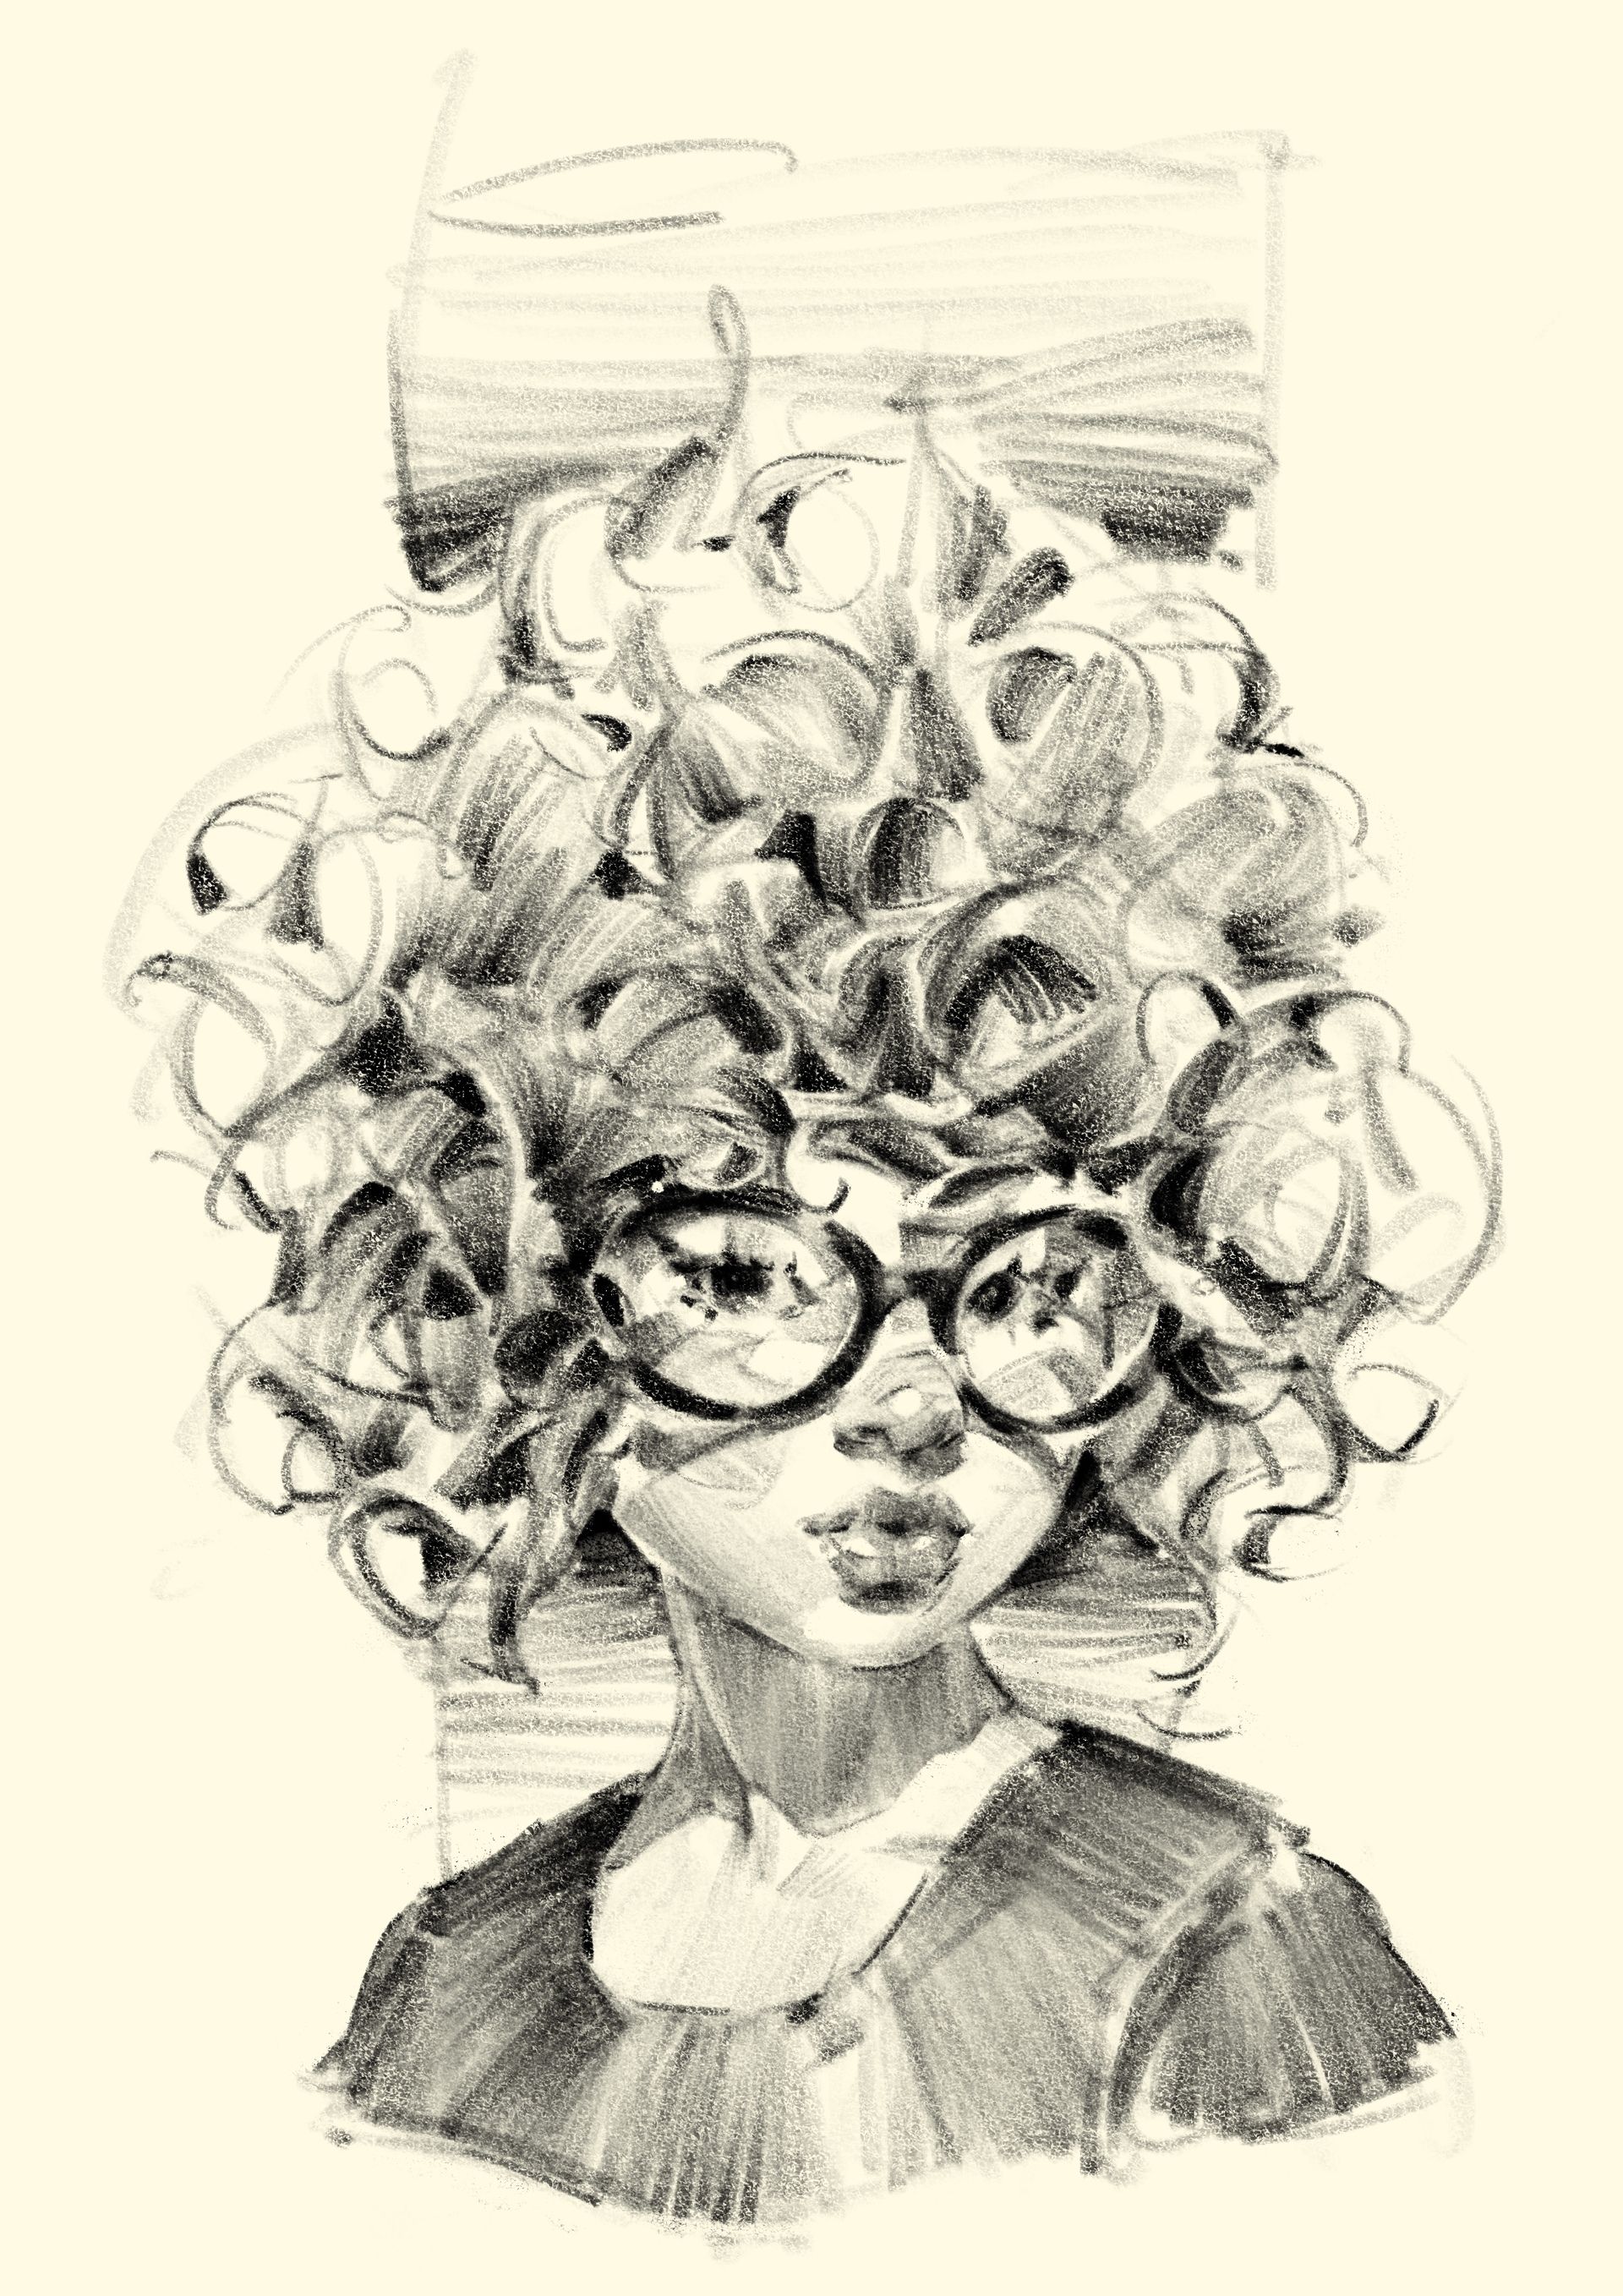
1. Look for mass, not strands

Observe the big shape first
Don’t try to follow each curl individually.
Instead, look at the entire hairstyle as a simplified shape.
Imagine it like a Lego hairpiece—bold, clean, and sculpted.
Seeing curls as one big shape helps you stay objective and avoid getting lost in the detail too early.
2. Focus from far to near
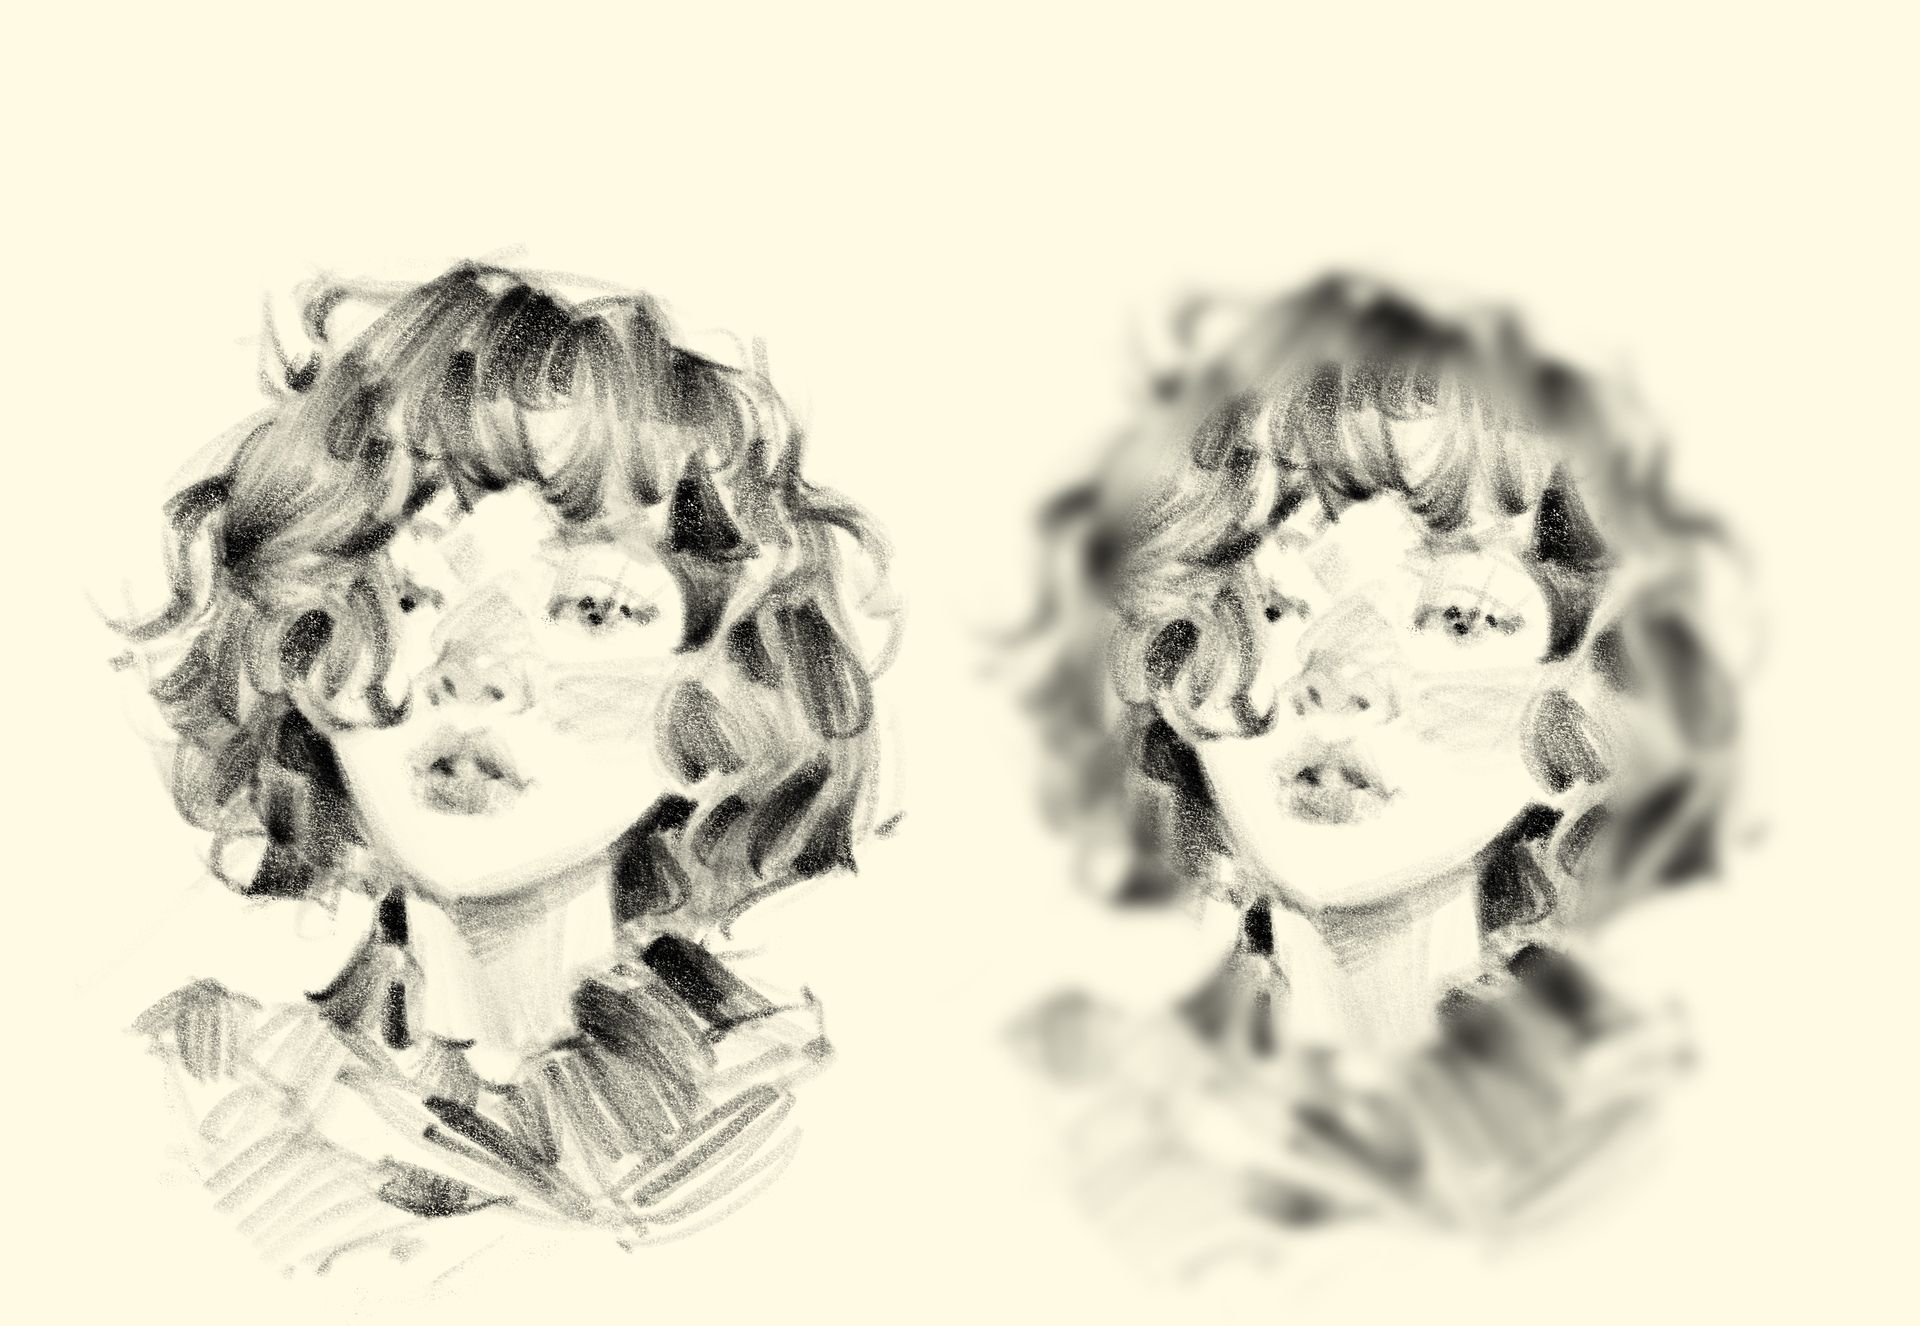
Work around the main focus
Curls often twist and overlap in confusing ways.
Rather than trying to figure out every part at once, I start by drawing the whole thing loosely, and gradually refine the areas closest to the face.
Start blurry, then sharpen as you move inward.
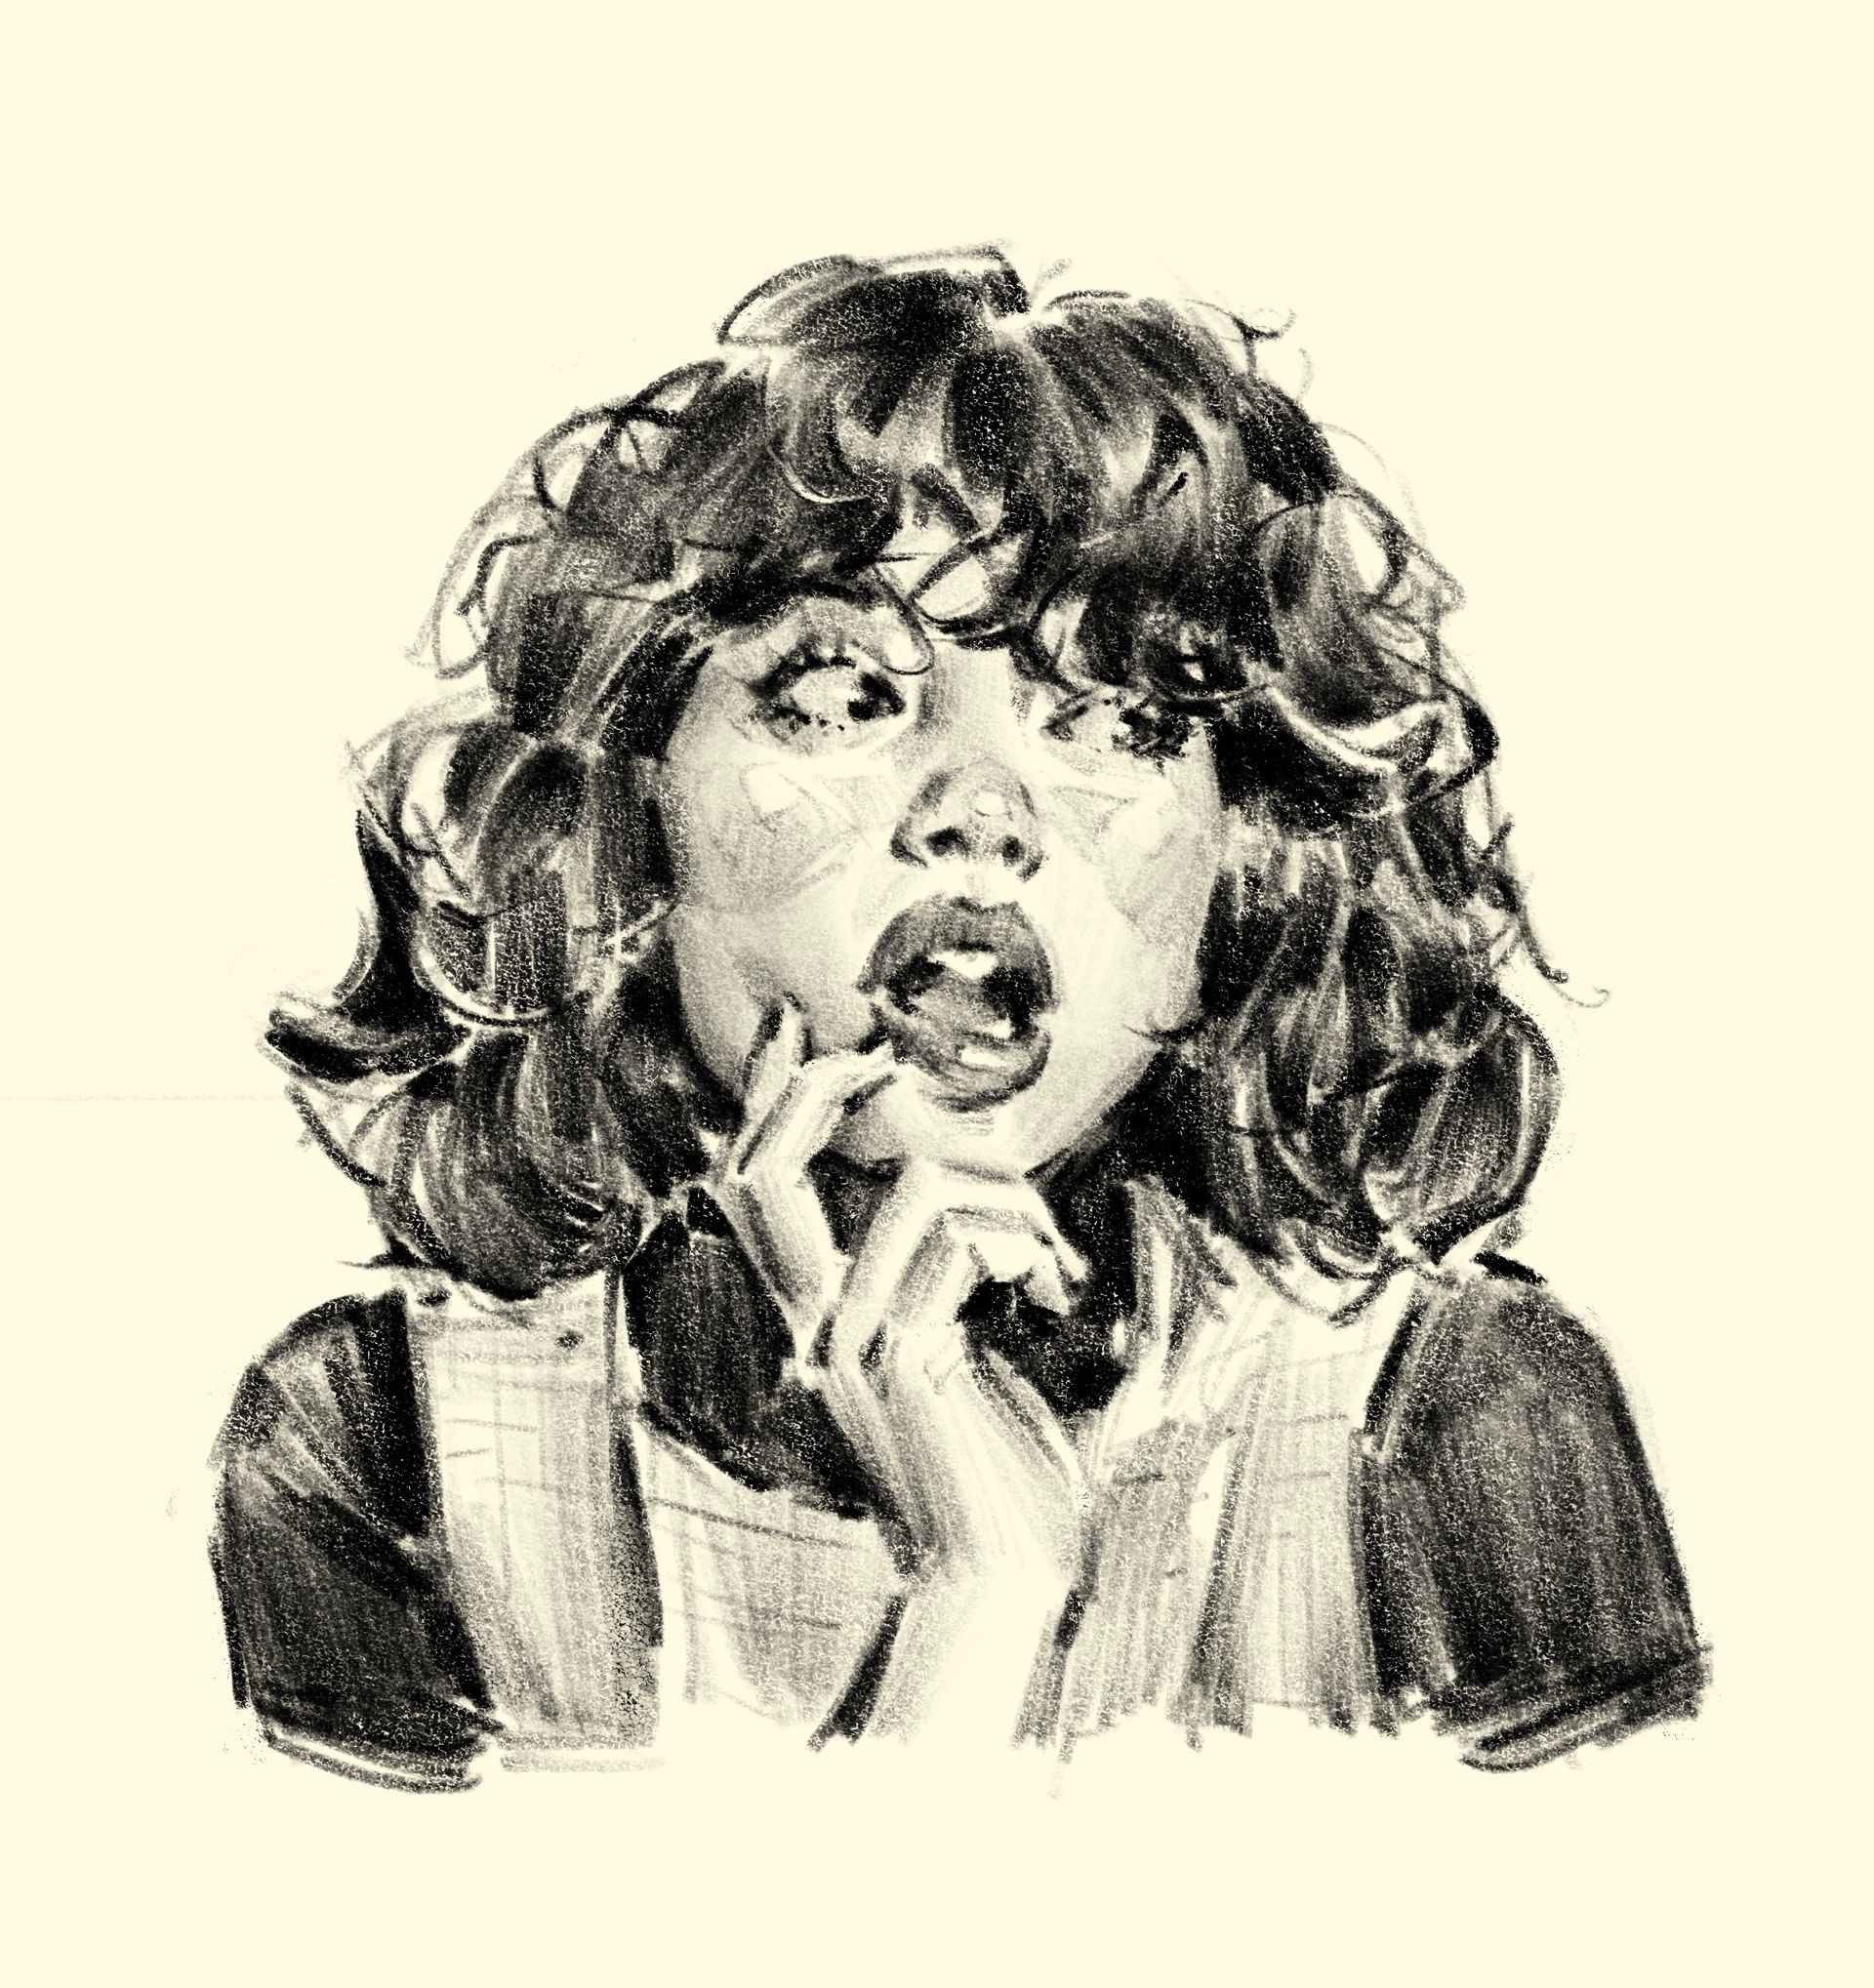
3. Shadows can be tricky—don’t lose the overall value structure

Maintain overall value structure
Curly hair has a lot of natural light and shadow transitions.
When rendering, it’s easy to overemphasize local contrast and lose the big picture.
Make sure your drawing still follows a clear overall light hierarchy.
Detail only works if the structure underneath remains intact.
🖼 Sketch Examples

Think in forms — draw curls as masses and rhythms, not one strand at a time.
Focus first — define only the curls in the focal area with sharper detail.
Preserve value structure — prioritize overall light/dark flow over local contrast.
📄 Want to Practice? I’ve Got a PDF + File for You
If you’d like to try drawing this on your own,
I made a mini tutorial PDF showing the full process in 6 clear steps.
→ 📥 Download the PDF here (free)
You can also grab the Procreate file to follow along directly on your iPad.
✏️ A Note About Tools
These sketches were drawn using my pencil sketch brush, which you can check out here:
→ 🖇 Sketch Brush on Gumroad
But honestly, you don’t need my brush to try this.
Use whatever pencil brush you like—or if you’re not using Procreate,
grab a notebook and a real pencil.
It still works. It always does.
The key is not the tool, but the way you’re thinking about form and structure.
If you end up trying the exercise,
send me your drawing!
I’d love to feature a few of your sketches in a future newsletter or on Threads.
And if there’s a topic or drawing challenge you’d like me to cover next,
feel free to reply and let me know.
See you next time!
— Brooks