- Drawings by Brooks Kim
- Posts
- From Observer to Director (Part 1)
From Observer to Director (Part 1)
Finding Magic in Boring Poses
brooks kim
December 23, 2025
Hello,
Have you ever spent an hour on Pinterest looking for the "perfect" reference photo? You know, the one with the perfect lighting, the perfect angle, and the exact pose you have in mind.
I used to do this all the time. But then I realized something: "I wasn't trying to design a drawing; I was trying to copy a photo."
When we rely too much on references, we become "Passive Observers." We become afraid to deviate from the photo because we think it’s the "answer key."
But to grow as artists, we need to switch to "Director Mode." For a Director, a reference is just raw material. You don't copy reality; you interpret it to show what you find important.
Take a look at the comparison below. This is how I switched from Observer to Director:
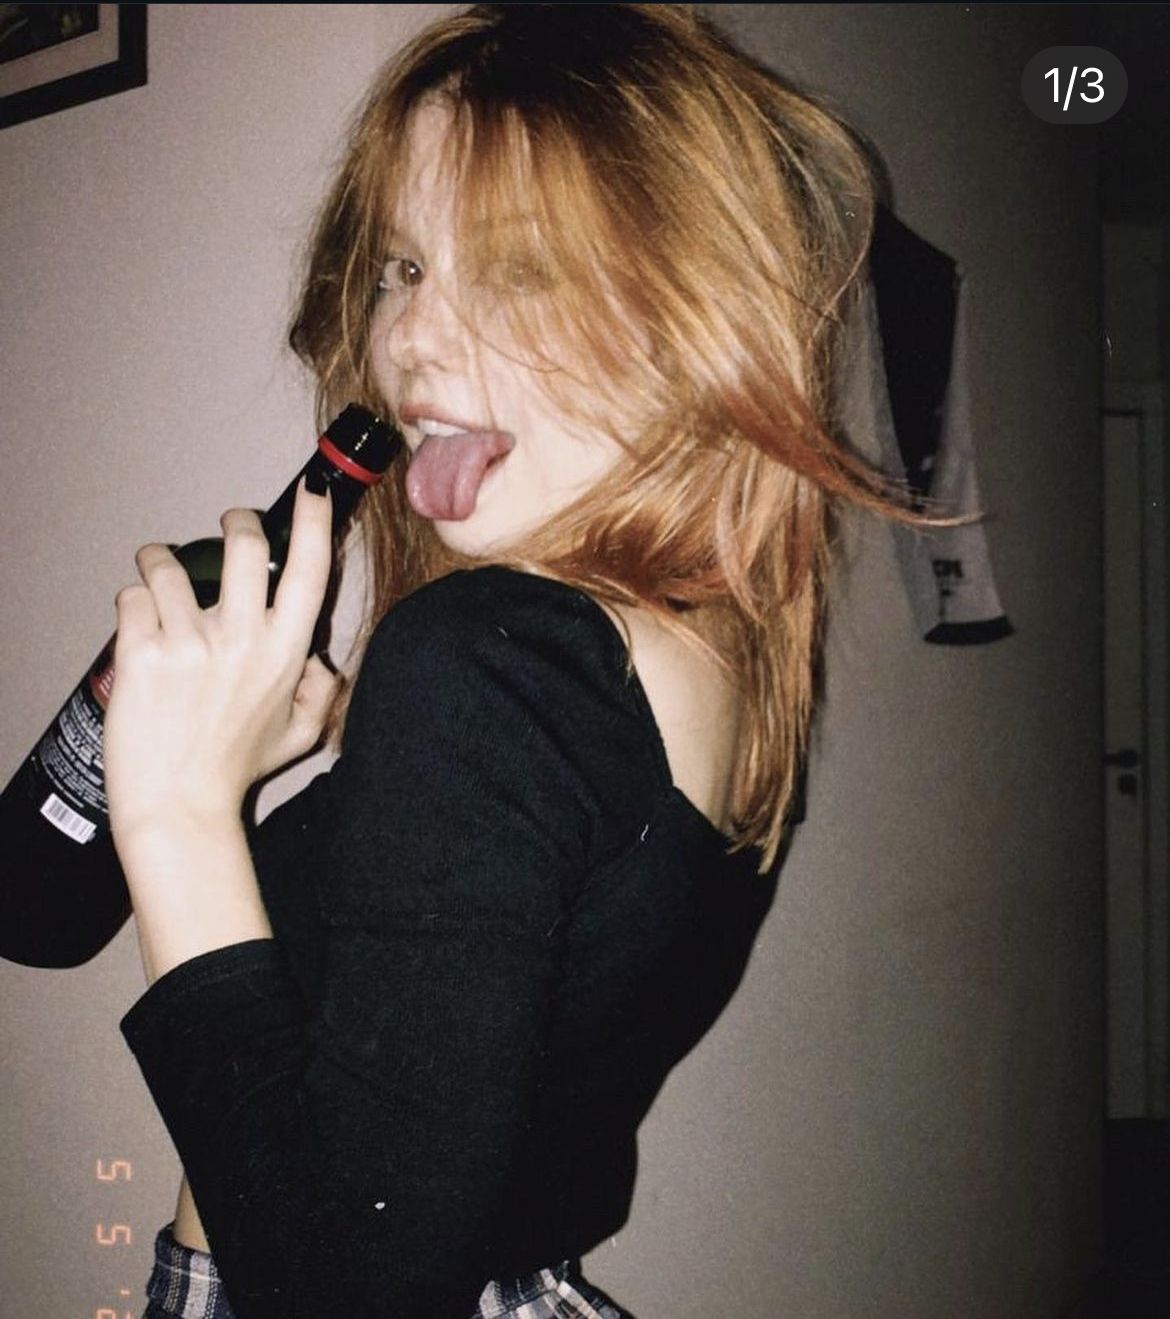
The Reference: A raw, candid moment. Model: @gbrllareis
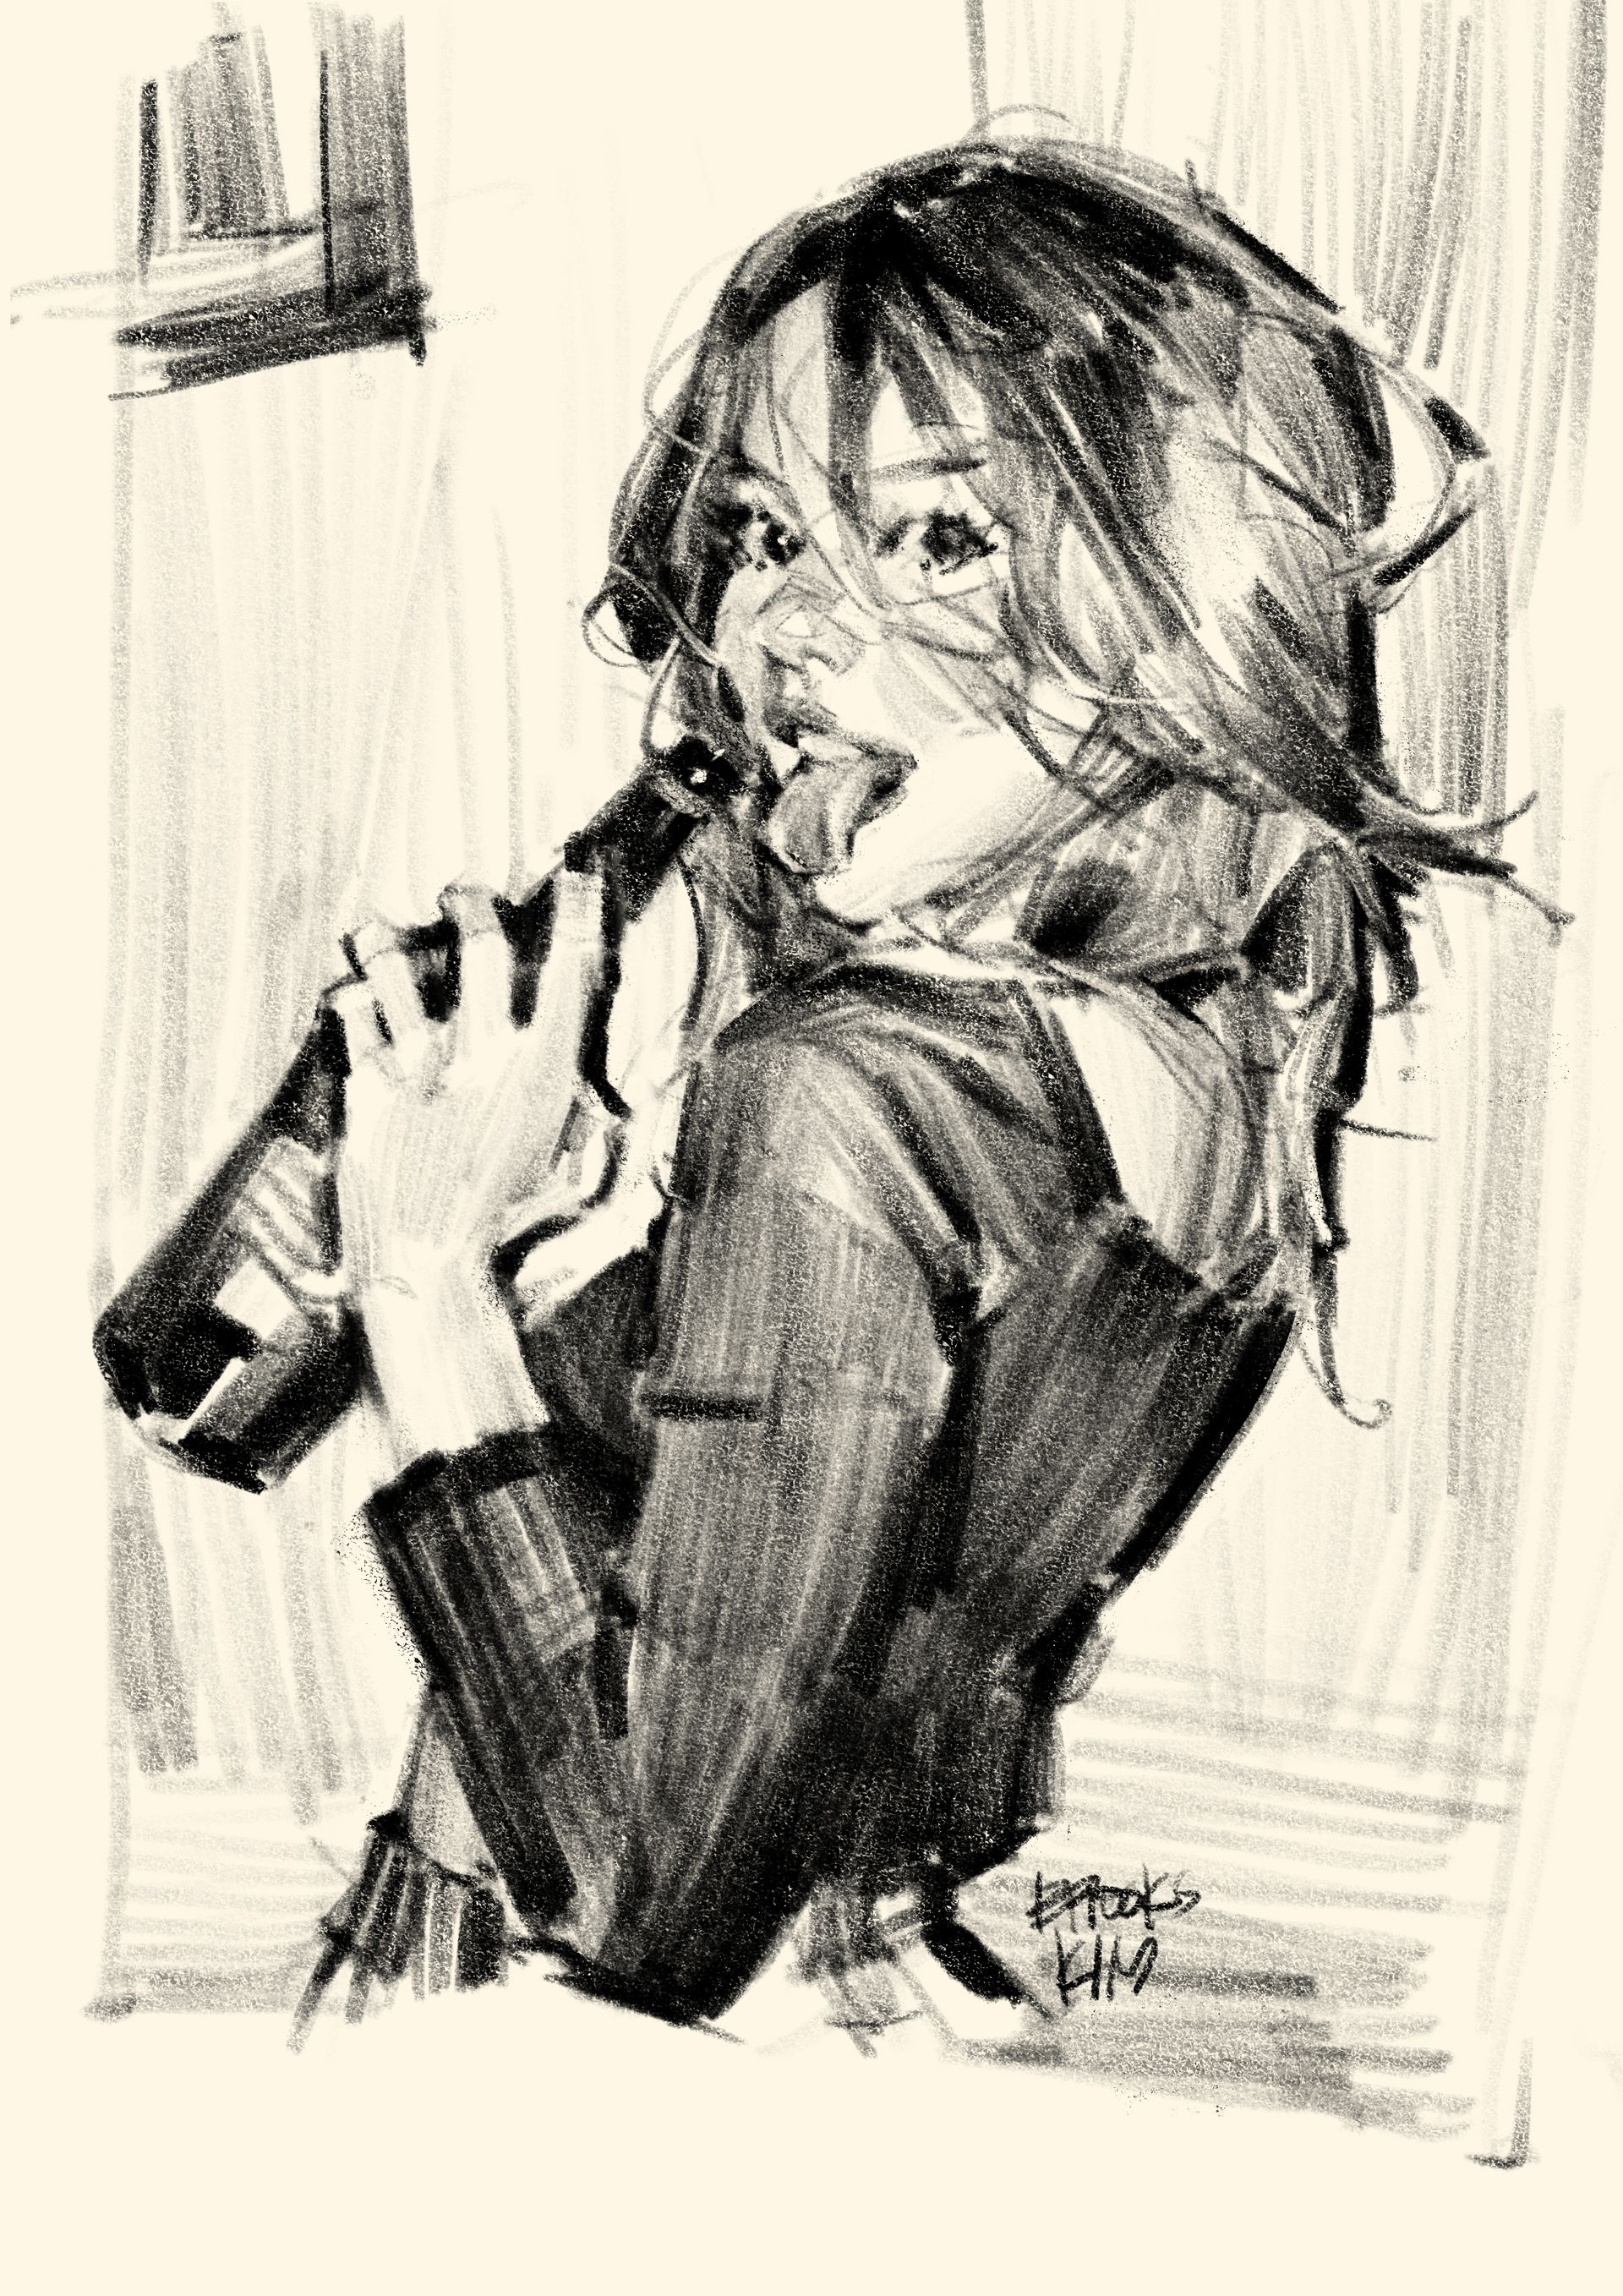
The Director's Cut: My stylized interpretation
Can you feel the difference? The photo on the top is a natural moment. But in the sketch below, my intention is clear.
Eye Contact: I sharpened the gaze to increase intensity.
Dynamic Flow: I exaggerated the flying hair to add movement that wasn't there before.
Simplification: I ignored the background clutter and focused purely on the silhouette of the figure and the bottle.
This is the difference between "copying" and "designing."
Here are my 3 Spells to help you switch from Observer to Director mode before you start sketching:
🪄 Spell 1: "Don't look for Facts, look for Flow."
It’s easy to get caught up in anatomy—where the elbow is, where the knee is. But that makes the drawing stiff. Instead, ignore the bones for a moment. Find the "Line of Action"—the single energy line that runs from head to toe. Capture that flow first. The anatomy can follow later.
🪄 Spell 2: "Straights against Curves."
Real human bodies are full of subtle, ambiguous curves. If you copy them exactly, the drawing can look weak (like cooked spaghetti). Design your lines. Use a straight line against a curved line to create rhythm.
The stretched side of the body? Make it a sharp Straight.
The compressed side? Make it an exaggerated Curve.
🪄 Spell 3: "Push it 1.5x."
Photos are bound by gravity. Your drawing is not. If your reference shows a gesture, push it further. Lean the body more. Twist the torso more. Tell yourself: "I will exaggerate this by 1.5 times." Usually, that feels "just right" to the viewer.
[Action Item: Finding the Extraordinary in the Ordinary]
Pick a "boring" reference photo today—maybe someone just waiting for a bus or looking at their phone. Instead of forcing it into an action pose, try to discover the hidden silhouette within that static moment.
Can you refine the slouch of their back into a more rhythmic curve?
Can you push the tilt of their hips just a little more to emphasize their weight?
Look at the "Negative Space" between their arm and body. Can you adjust the arm slightly to make that empty space a more interesting shape?
You don't need explosions or superhero landings. A true Director knows how to polish an ordinary moment into something extraordinary just by refining the shapes.
Happy creating,
P.S. Curious about the tools I used today? You can grab the exact custom brushes I used for this sketch right here: 🖌️ [Get My Custom Brushes]
For quicker tips and behind-the-scenes sketches, I post on Threads first. Let's connect there! 🧵 [Follow me on Threads]